-
ABS Wheel Speed Sensors For Cadillac Chevy Suburban Tahoe GMC Yukon Front & Rear 15121067Vendor: MOSTPLUSSpecification Warranty: 1 Year Brand: MOSTPLUS Stock parts direct replacement 100% test before shipment Interchange: 15229012, 15121067 Application For 2007-2012 Cadillac Escalade For 2007-2008 Cadillac Escalade ESV For 2007-2012 Cadillac Escalade EXT For 2007-2012 Chevrolet Avalanche For 2007-2012 Chevrolet Suburban 1500 For 2007-2012 Chevrolet...
- $37.99
- $37.99
- Unit price
- per
-
ABS Wheel Speed Sensor Front L&R For Chevy Express Avalanche Silverado 1500 2500Vendor: MOSTPLUSFeatures Interchange Part Number: 15991986, 19181879, 15990504, 15990503,15716203,19181872,15056757,15037208,15112378 ,15991985, 56041316AA /DS56041316AB Package includes: 2 x ABS Wheel Speed Sensor (Left and Right) Fitment: For 2003-2008 Chevrolet Express 1500For 2003-2005 Chevrolet Express 2500For 1995-1999 Chevrolet K1500For 1995-1999 Chevrolet K1500 SuburbanFor 1995-2000 Chevrolet K2500For...
- $23.99
$30.99- $23.99
- Unit price
- per
-
ABS Wheel Speed Sensor For 2007-2012 Chevrolet Avalanche Tahoe ALS1464 Rear (Set of 2)Vendor: MOSTPLUSDetails: Brand: MOSTPLUS Warranty: 1 Year Interchange Part Number: 15121067, ALS1464 Fitment Type: Direct Replacement Fitment: 2007-2012 Cadillac Escalade 2007-2008 Cadillac Escalade ESV 2007-2012 Cadillac Escalade EXT 2007-2012 Chevrolet Avalanche 2007-2012 Chevrolet Suburban 1500 2007-2012 Chevrolet Tahoe 2007-2012 GMC Yukon 2007-2012 GMC Yukon XL...
- $18.99
- $18.99
- Unit price
- per
Vendor:
MOSTPLUS
Details: Brand: MOSTPLUS Warranty: 1 Year Color: Chrome Material: Stainless Steel, Plastic Interchange Part Number: TO1103117 Fitment Type: Direct Replacement Placement on Vehicle: Rear Feature: Excellent Performance: The bumper could protect vehicle components and improve safety, under the the harsh off-road. The chrome surface...
- $328.99
$349.99- $328.99
- Unit price
- per
Vendor:
MOSTPLUS
Details: Brand: MOSTPLUS Warranty: 1 Year Color: Black Material: Stainless Steel, Plastic Interchange Part Number: TO1103108 Fitment Type: Direct Replacement Placement on Vehicle: Rear Feature: Excellent Performance: The bumper could protect vehicle components and improve safety, under the the harsh off-road. The chrome surface...
- $239.99
- $239.99
- Unit price
- per
Vendor:
MOSTPLUS
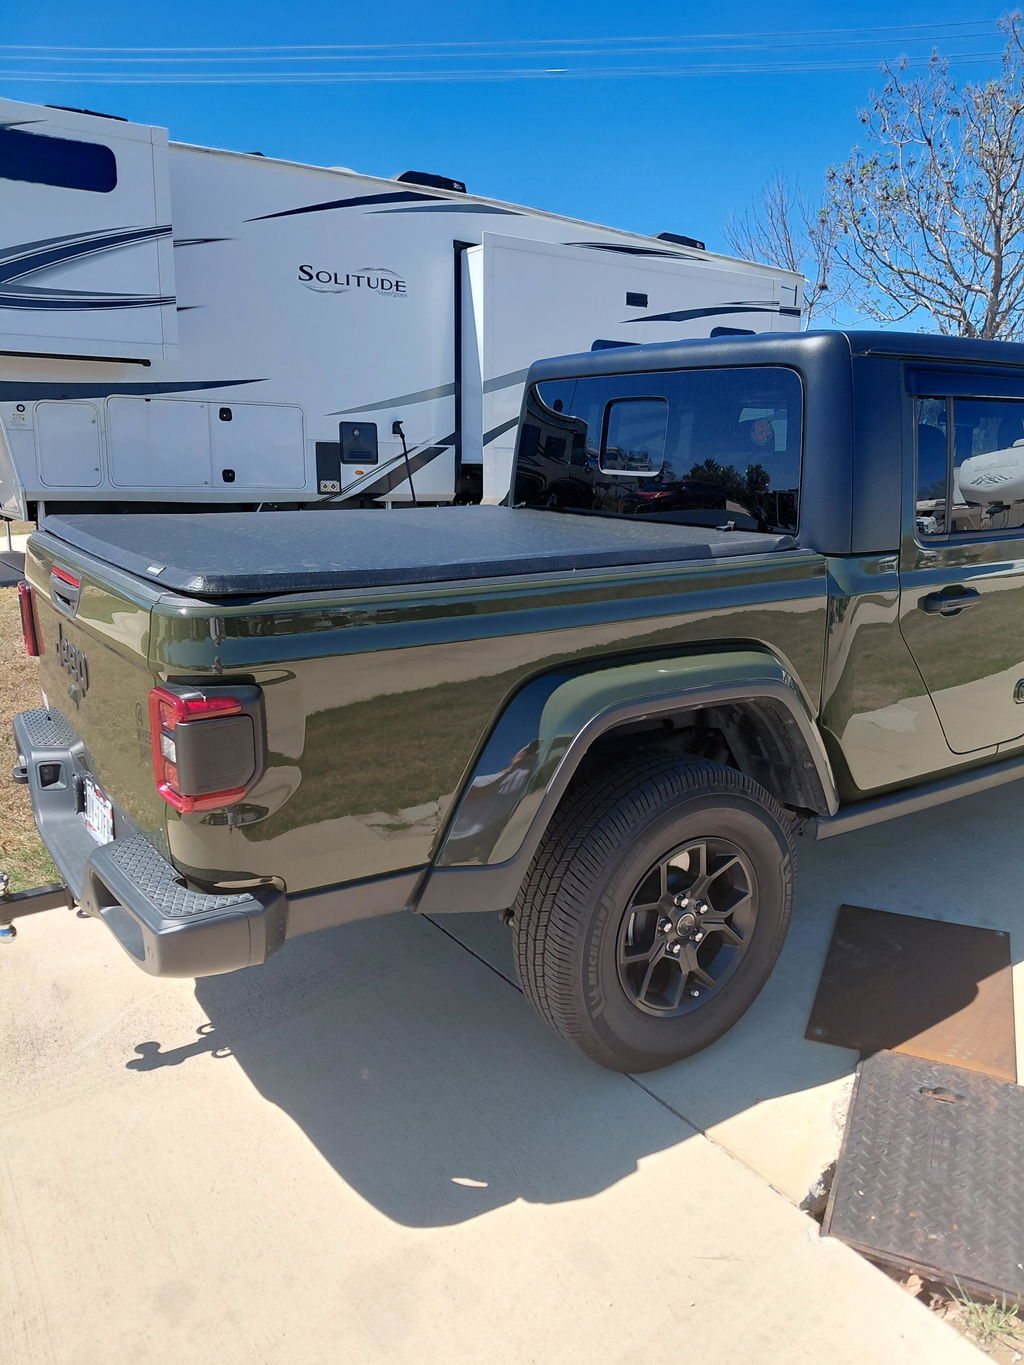
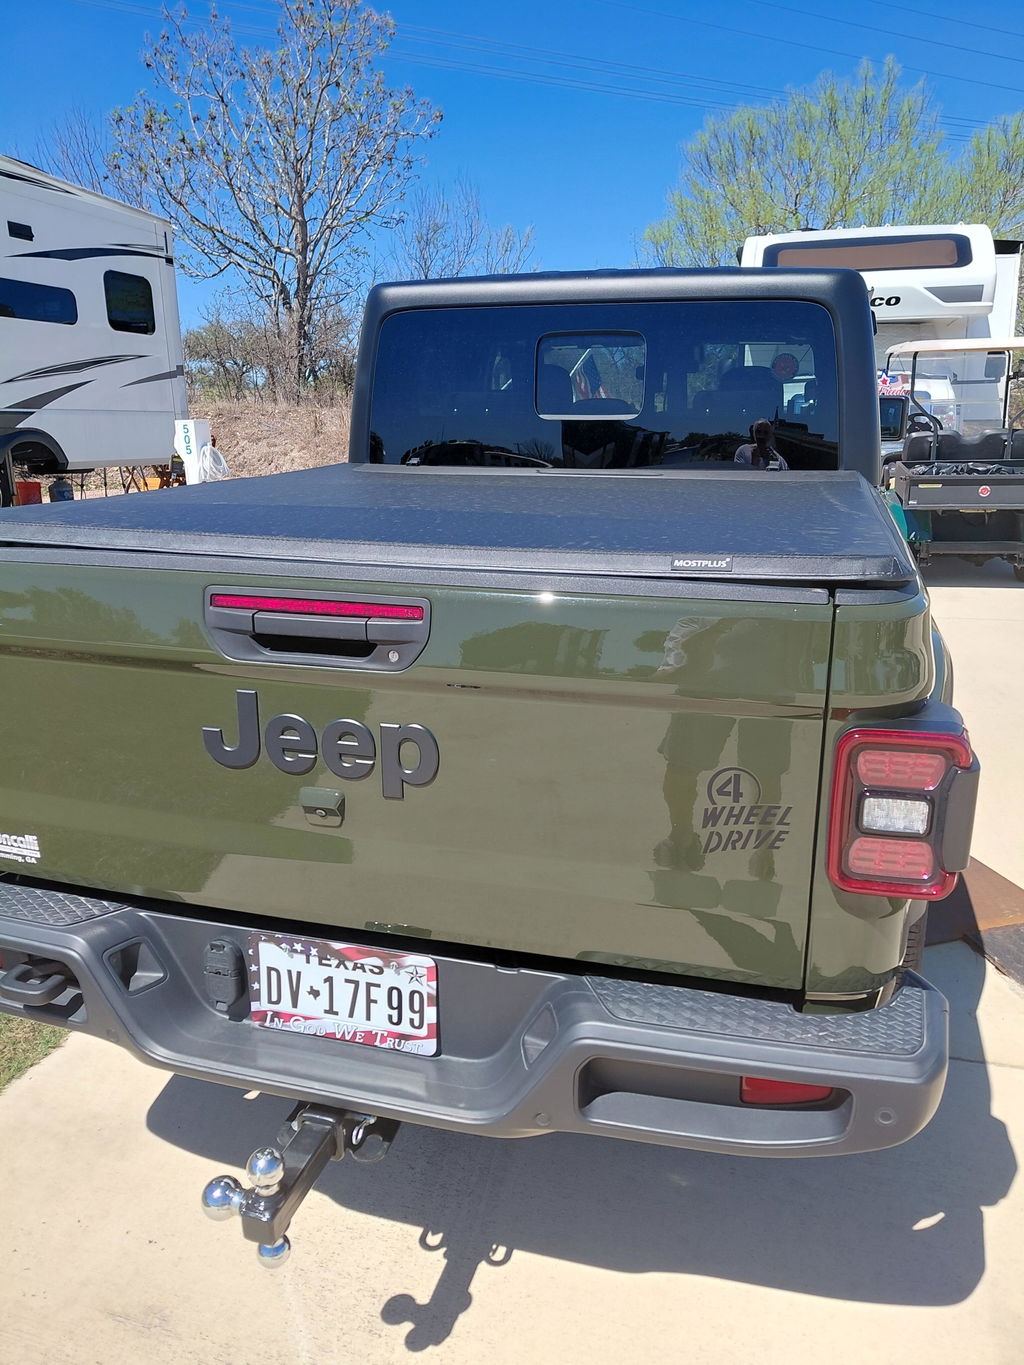
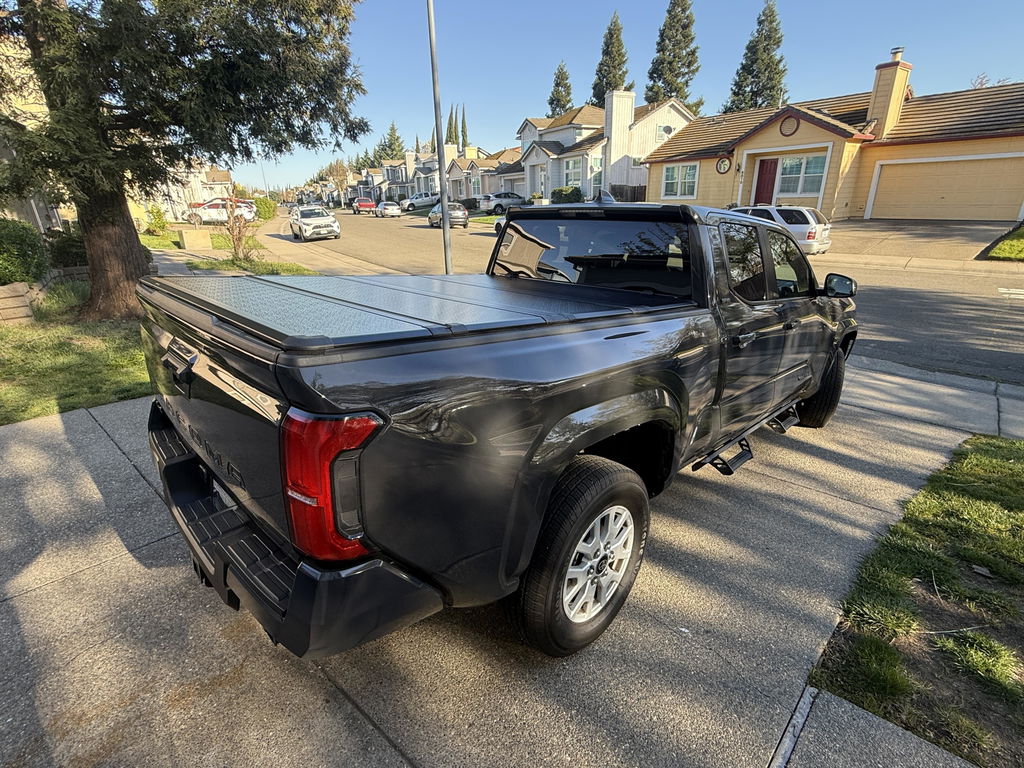
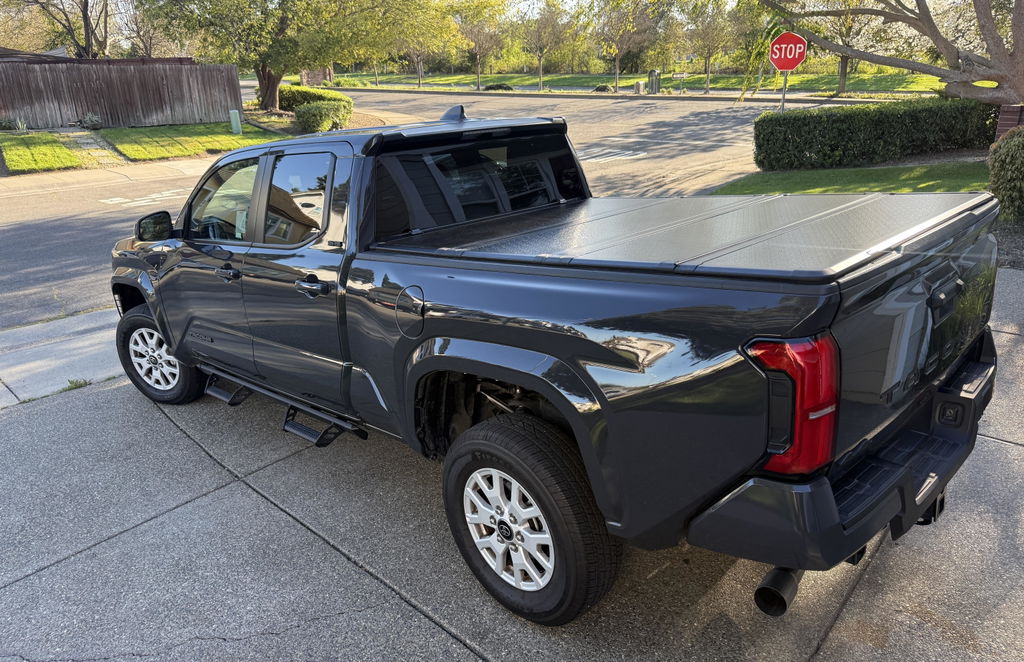
MOSTPLUS running boards allow you to enter and exit your vehicle more easily. Additional benefits of running boards include protection from random road debris and a useful tool to help keep your vehicle cleaner. They also enhance the look of your vehicle. SPECIFICATION:...
- $193.99
- $193.99
- Unit price
- per
Vendor:
MOSTPLUS
MOSTPLUS running boards allow you to enter and exit your vehicle more easily. Additional benefits of running boards include protection from random road debris and a useful tool to help keep your vehicle cleaner. They also enhance the look of your vehicle. With their...
- $205.99
$206.67- $205.99
- Unit price
- per
Vendor:
MOSTPLUS
MOSTPLUS running boards allow you to enter and exit your vehicle more easily. Additional benefits of running boards include protection from random road debris and a useful tool to help keep your vehicle cleaner. They also enhance the look of your vehicle. SPECIFICATION:...
- $219.99
- $219.99
- Unit price
- per
Vendor:
MOSTPLUS
MOSTPLUS Towing Mirrors are designed to replace /update factory mirrors. They provide drivers with a full-length view of the pickup and trailer, helping prevent accidents due to a restricted field of view and ensuring that you comply with the law. Fit for 1999 2000...
- $218.99
- $218.99
- Unit price
- per
Vendor:
MOSTPLUS
MOSTPLUS towing mirrors are designed to replace factory mirrors and will install just as the originals do. The extendable design of the manual flip ensures a perfect, preferred view for any towing situation. Reinforced with upgraded brackets, they prevent vibration and shaking, ensuring a steady...
- $215.99
- $215.99
- Unit price
- per
Vendor:
MOSTPLUS
SPECIFICATION: Brand: MOSTPLUS Warranty: 1 Year Color: Chrome & Black Housing Aluminum Triangle Base, Black Abs Plastic Shell Case Dual Glasses: Flat Glass & Convex Glass Heated Defrost Function Folding: Manual Folding OE/OEM Part Number: 61185-86F, 128-01754L, 61185-86F, 128-01754L, FO1320369, FO1321369 Includes Driver and Passenger Side FUNCTION: Dual Glasses: Flat Glass & Blind-Spot Convex Glass...
- $185.99
- $185.99
- Unit price
- per


ABS Sensor FAQs
ABS is an assistance system that helps the driver to drive more calmly by eliminating the effect of wheel locking during hard braking. It is part of a suite of vehicle electronic systems that use wheel speed sensors to determine wheel speed and act accordingly. The ABS sensor is one of your vehicle's sensors. It is part of the ABS that prevents your wheels from locking during hard braking. There is one ABS sensor for each wheel. The sensor then sends the information to the ECU, which releases the wheel.
They are usually located near the wheels, near the hubs. Each wheel has its own ABS sensor.
Step 1: Remove the wheel
Step 2: Remove the arch liner clip
Step 3: Disconnect the ABS sensor
Step 4: Remove the mounting rubbers
Step 5: Unbolt the ABS sensor from the wheel knuckle
Step 6: Install the new ABS sensor and secure it.
Step 7: Reconnect the ABS sensor wiring connector
Step 8: Install the wheel
Step 1 Preparation: Ensure the vehicle is turned off and the ABS disengages.
Step 2 Disconnect: Disconnect the electrical connector of the ABS sensor.
Step 3 Set the multimeter: Set the multimeter to the ohmmeter function.
Step 4 Measure resistance: Connect the multimeter probes to the pins on the ABS sensor connector. Make sure the probes make good contact with the connector pins. The ABS sensor should have two pins.
Step 5 Resistance Reading: Read the resistance value displayed on the multimeter. If the resistance reading is outside this range, it may indicate a sensor malfunction.
Step 1 Raise the vehicle: Jack up the vehicle so you have a few inches under the wheel and place it on jack stands.
Step 2 Locate the sensor: Locate the ABS sensors.
Step 3 Remove the sensor: Use a suitable wrench to unscrew the bolts and carefully remove the sensor. Use lubricant if necessary.
Step 4 Clean ABS sensor: Gently wipe the sensor surface with a clean cloth, preferably microfiber.
Step 5 Brake cleaner or degreaser: If the sensor is very dirty or greasy, you can spray or gently apply the cleaner to a clean cloth and gently rub the sensor surface.
Step 6 Reinstall: Carefully reinstall the sensor, making sure it's properly positioned and securely fastened.
Step 7 Once the cleaning is complete, start the engine and see if the ABS warning light goes out.
Step 8 Test Drive: Perform a test drive at low speed to verify that the ABS warning light remains off and that the braking system is operating properly.
- Choosing a selection results in a full page refresh.