Filter
27 results
20
- 10
- 15
- 20
- 25
- 30
- 50
Best selling
- Featured
- Best selling
- Alphabetically, A-Z
- Alphabetically, Z-A
- Price, low to high
- Price, high to low
- Date, old to new
- Date, new to old
Sort
Sort by:
- Featured
- Best selling
- Alphabetically, A-Z
- Alphabetically, Z-A
- Price, low to high
- Price, high to low
- Date, old to new
- Date, new to old
-
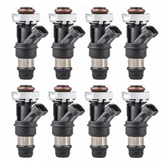
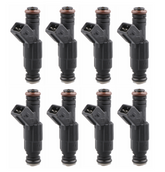
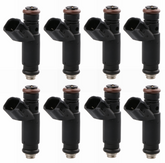
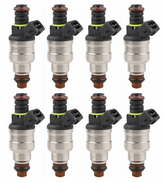
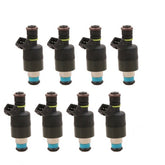
80lb 830cc Fuel Injectors for GMC 4.8L 5.3L 6.0L Exc. Flex Fuel 8PCSVendor: MOSTPLUSThese high Impedance fuel injectors have been 100% tested and exactly match the internal coil resistance and fuel flow rate of OEM fuel injectors.The individual flow characteristics and fuel atomization of above fuel injectors are almost same to or superior to the OEM and...
- $139.90
- $139.90
- Unit price
- / per
-
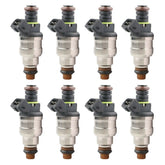
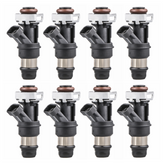
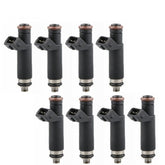
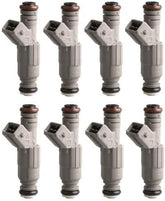
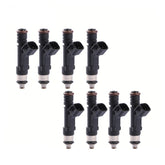
24LB 250cc Fuel Injectors For Chevy Ford Dodge LS1 LT1 5.0L 5.7L V8 0280150947 (Set of 8)Vendor: MOSTPLUSThese fuel injectors have been 100% tested and exactly match the internal coil resistance and fuel flow rate of OEM fuel injectors. The individual flow characteristics and fuel atomization of above fuel injectors are almost same to or superior to the OEM and will...
- $72.99
$83.21- $72.99
- Unit price
- / per
-
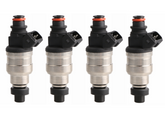
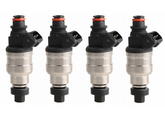
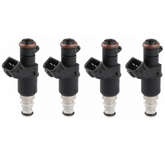
Fuel Injectors Fit Honda OBD1 OBD2 B16 B18 B20 D15 D16 D18 F22 H22 w/clips 550ccVendor: MOSTPLUSThese fuel injectors have been 100% tested and exactly match the internal coil resistance and fuel flow rate of OEM fuel injectors.The individual flow characteristics and fuel atomization of above fuel injectors are almost same to or superior to the OEM and will help...
- $68.88
- $68.88
- Unit price
- / per
-
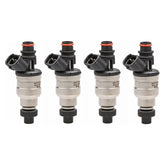
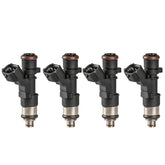
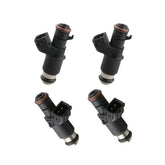
Fuel Injectors for Toyota 4Runner Pickup 89-95 22RE 2.4L Set(4)Vendor: MOSTPLUSThese fuel injectors have been 100% tested and exactly match the internal coil resistance and fuel flow rate of OEM fuel injectors.The individual flow characteristics and fuel atomization of above fuel injectors are almost same to or superior to the OEM and will help...
- $53.41
- $53.41
- Unit price
- / per
-
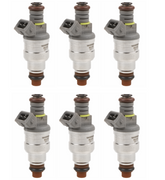
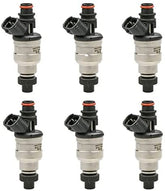
MOSTPLUS Fuel Injectors for Ford 6 Cyl 3.8L 4.9L F1ZE-B4C F1ZZ9F593B Set(6)Vendor: MOSTPLUSThese fuel injectors have been 100% tested and exactly match the internal coil resistance and fuel flow rate of OEM fuel injectors.The individual flow characteristics and fuel atomization of above fuel injectors are almost same to or superior to the OEM and will help...
- $67.93
$73.58- $67.93
- Unit price
- / per
-
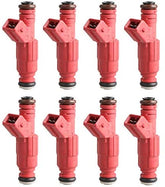
Fuel Injectors for Chevy GMC Marine 8.1L Truck 2001-2004 440cc (Set (8) 42lb)Vendor: MOSTPLUSThese High Impedance fuel injectors have been 100% tested and exactly match the internal coil resistance and fuel flow rate of OEM fuel injectors.The individual flow characteristics and fuel atomization of above fuel injectors are almost same to or superior to the OEM and...
- $69.90
- $69.90
- Unit price
- / per
-
Fuel Injectors For Nissan Sentra Rogue Altima 2.5L L4 0280158130 Set(4)Vendor: MOSTPLUSThese fuel injectors have been 100% tested and exactly match the internal coil resistance and fuel flow rate of OEM fuel injectors.The individual flow characteristics and fuel atomization of above fuel injectors are almost same to or superior to the OEM and will help...
- $46.99
- $46.99
- Unit price
- / per
-
Fuel Injectors For Honda B16 B18 B20 D15 D16 D18 F22 H22 80LB w/clips Set(4) 850ccVendor: MOSTPLUSThese fuel injectors are not made by the original equipment manufacturers(OEM)(BOSCH & VDO etc.)They have been 100% tested and exactly match the internal coil resistance and fuel flow rate of OEM fuel injectors.The individual flow characteristics and fuel atomization of above fuel injectors are...
- $73.85
- $73.85
- Unit price
- / per
-
36lb Fuel Injectors For Ford GM V8 LS1 LT1 5.0L 5.7L 380cc 0280155737 0280155868 Set (8)Vendor: MOSTPLUSThese High Impedance fuel injectors have been 100% tested and exactly match the internal coil resistance and fuel flow rate of OEM fuel injectors.The individual flow characteristics and fuel atomization of above fuel injectors are almost same to or superior to the OEM and...
- $74.96
- $74.96
- Unit price
- / per
-
High Impedance Fuel Injectors For Ford GM V8 TBI LT1 LS1 835cc Set of 8 80lb EV1Vendor: MOSTPLUSThese fuel injectors have been 100% tested and exactly match the internal coil resistance and fuel flow rate of OEM fuel injectors.The individual flow characteristics and fuel atomization of above fuel injectors are almost same to or superior to the OEM and will help...
- $105.11
- $105.11
- Unit price
- / per
-
Fuel Injectors For 2003-2011 Honda Element 2.4L 16450RAAA01 Set(4)Vendor: MOSTPLUSThese fuel injectors are not made by the original equipment manufacturers(OEM)(BOSCH & VDO etc.)They have been 100% tested and exactly match the internal coil resistance and fuel flow rate of OEM fuel injectors.The individual flow characteristics and fuel atomization of above fuel injectors are...
- $49.17
- $49.17
- Unit price
- / per
-
Fuel Injectors For 04-08 Dodge Ram 1500 2500 3500 04-09 Durango 5.7L (8PCS)Vendor: MOSTPLUSThese High Impedance fuel injectors have been 100% tested and exactly match the internal coil resistance and fuel flow rate of OEM fuel injectors.The individual flow characteristics and fuel atomization of above fuel injectors are almost same to or superior to the OEM and...
- $86.00
- $86.00
- Unit price
- / per
-
Fuel Injectors fit Ford Mercury Lincoln 4.6 5.0 5.4 5.8 0280150943 Set of 8Vendor: MOSTPLUSThese fuel injectors have been 100% tested and exactly match the internal coil resistance and fuel flow rate of OEM fuel injectors.The individual flow characteristics and fuel atomization of above fuel injectors are almost same to or superior to the OEM and will help...
- $72.76
- $72.76
- Unit price
- / per
-
MOSTPLUS 24LB Fuel Injectors for Jeep Cherokee Dodge Dakota Ram Van 5.2 5.9 (8 sets) 0280155930Vendor: MOSTPLUSThese high Impedance fuel injectors have been 100% tested and exactly match the internal coil resistance and fuel flow rate of OEM fuel injectors.The individual flow characteristics and fuel atomization of above fuel injectors are almost same to or superior to the OEM and...
- $69.88
$75.96- $69.88
- Unit price
- / per
-
Fuel injectors for Ford 2.3 2.9 3.0 3.8 4.9 5.0 F47E-A2E (Set (6) Flow Matched)Vendor: MOSTPLUSThese fuel injectors are not made by the original equipment manufacturers(OEM)(BOSCH & VDO etc.)They have been 100% tested and exactly match the internal coil resistance and fuel flow rate of OEM fuel injectors.The individual flow characteristics and fuel atomization of above fuel injectors are...
- $63.97
- $63.97
- Unit price
- / per
-
MOSTPLUS 30lb Fuel Injectors for 1996-2004 Ford Mustang GT M-9593-BB302 0280150945Vendor: MOSTPLUSThese High Impedance fuel injectors are not made by the original equipment manufacturers(OEM)(BOSCH & VDO etc.)They have been 100% tested and exactly match the internal coil resistance and fuel flow rate of OEM fuel injectors.The individual flow characteristics and fuel atomization of above fuel...
- $67.91
- $67.91
- Unit price
- / per
-
Fuel Injectors For Chevrolet Camaro Corvette Impala Pontiac Firebird V8 5.7 Set(8)Vendor: MOSTPLUSThese fuel injectors have been 100% tested and exactly match the internal coil resistance and fuel flow rate of OEM fuel injectors.The individual flow characteristics and fuel atomization of above fuel injectors are almost same to or superior to the OEM and will help...
- $87.27
- $87.27
- Unit price
- / per
-
Fuel Injectors 4 Holes For 1989-1995 Toyota 4Runner Pickup T100 3.0L V6 Set(6)Vendor: MOSTPLUSThese fuel injectors have been 100% tested and exactly match the internal coil resistance and fuel flow rate of OEM fuel injectors.The individual flow characteristics and fuel atomization of above fuel injectors are almost same to or superior to the OEM and will help...
- $84.09
- $84.09
- Unit price
- / per
-
High impedance Fuel Injectors for Honda Civic EX LX DX 2006-2011 1.8L l4 Set(4)Vendor: MOSTPLUSThese fuel injectors are not made by the original equipment manufacturers(OEM)(BOSCH & VDO etc.)They have been 100% tested and exactly match the internal coil resistance and fuel flow rate of OEM fuel injectors.The individual flow characteristics and fuel atomization of above fuel injectors are...
- $47.15
- $47.15
- Unit price
- / per
-
Fuel Injectors For Ford F-150 Ford F-250 Super Duty E-250 Expedition 5.4L 8PCSVendor: MOSTPLUSThese fuel injectors have been 100% tested and exactly match the internal coil resistance and fuel flow rate of OEM fuel injectors.The individual flow characteristics and fuel atomization of above fuel injectors are almost same to or superior to the OEM and will help...
- $79.96
- $79.96
- Unit price
- / per
