Filter
16 results
20
- 10
- 15
- 20
- 25
- 30
- 50
Best selling
- Featured
- Best selling
- Alphabetically, A-Z
- Alphabetically, Z-A
- Price, low to high
- Price, high to low
- Date, old to new
- Date, new to old
Sort
Sort by:
- Featured
- Best selling
- Alphabetically, A-Z
- Alphabetically, Z-A
- Price, low to high
- Price, high to low
- Date, old to new
- Date, new to old
-
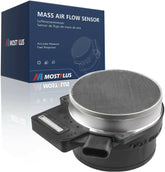
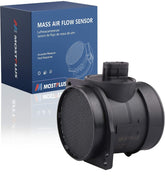
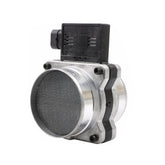
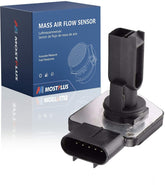
Mass Air Flow Sensor Meter MAF For Cadillac Chevy GMC Silverado 25318411 AF10043Vendor: MOSTPLUSThe air mass sensor measures the mass of air inducted by the engine (air flow mass) with great precision. The signal produced by the air mass sensor is used to calculate the amount of fuel injection and in the case of diesel engines also...
- $28.99
- $28.99
- Unit price
- / per
-
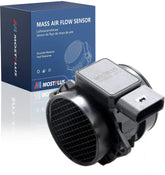
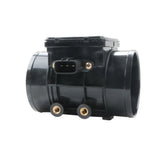
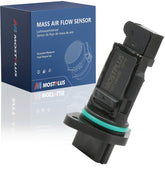
28164-37200 Mass Air Flow Sensor Fit Santa Fe Sonata Tiburon Tuscon V6 2.5 2.7LVendor: MOSTPLUSThe air mass sensor measures the mass of air inducted by the engine (air flow mass) with great precision. The signal produced by the air mass sensor is used to calculate the amount of fuel injection and in the case of diesel engines also...
- $26.99
- $26.99
- Unit price
- / per
-
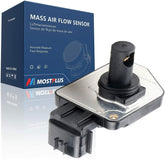
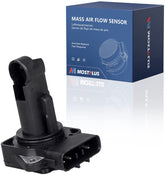
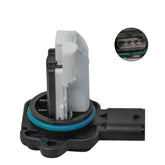
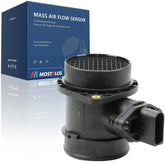
Mass Air Flow Sensor Meter MAF For Nissan Frontier X-Terra AFH55-M12Vendor: MOSTPLUSThe air mass sensor measures the mass of air inducted by the engine (air flow mass) with great precision. The signal produced by the air mass sensor is used to calculate the amount of fuel injection and in the case of diesel engines also...
- $25.99
- $25.99
- Unit price
- / per
-
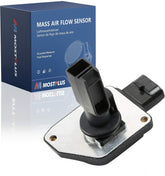
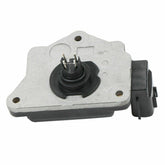
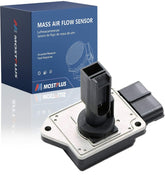
MOSTPLUS MAF Mass Air Flow Sensor Meter for Buick Chevy Pontiac V6 AFH50M-05Vendor: MOSTPLUSThe air mass sensor measures the mass of air inducted by the engine (air flow mass) with great precision. The signal produced by the air mass sensor is used to calculate the amount of fuel injection and in the case of diesel engines also...
- $19.98
- $19.98
- Unit price
- / per
-
Mass Air Flow Sensor Meter MAF For Chevy Buick Cadillac Saturn 15911983Vendor: MOSTPLUSThe air mass sensor measures the mass of air inducted by the engine (air flow mass) with great precision. The signal produced by the air mass sensor is used to calculate the amount of fuel injection and in the case of diesel engines also...
- $29.99
- $29.99
- Unit price
- / per
-
MAF Mass Air Flow Sensor For Optima Sportage Sonata Elantra 28164-23700 RondoVendor: MOSTPLUSDetails: Brand: MOSTPLUS Warranty: 1 Year Surface Finish: New Black Fitment Type: Direct Replacement Interchange Part Number: 2816423720 Other Part Number: AFEL03, 5S2982, 5WK96431, 28164-25000, 28164-23700 OE Spec or Performance/Custom: OE Spec Placement on Vehicle: Front The air mass sensor measures the mass of...
- $26.89
- $26.89
- Unit price
- / per
-
MOSTPLUS 1X43-12B579-AB 22204-22010 Mass Air Flow Meter Direct Replacement MAF Sensor for Toyota Lexus Land Rover Jaguar XJ8 X-TypeVendor: MOSTPLUSThe air mass sensor measures the mass of air inducted by the engine (air flow mass) with great precision. The signal produced by the air mass sensor is used to calculate the amount of fuel injection and in the case of diesel engines also...
- $18.99
$23.64- $18.99
- Unit price
- / per
-
Mass Air Flow Sensor MAF AFH55-M10 for Nissan D21 PICKUP 1990-1996 2.4LVendor: MOSTPLUSThe air mass sensor measures the mass of air inducted by the engine (air flow mass) with great precision. The signal produced by the air mass sensor is used to calculate the amount of fuel injection and in the case of diesel engines also...
- $27.91
- $27.91
- Unit price
- / per
-
Mass Air Flow Meter Sensor For 1994-2005 Chevrolet Buick Pontiac 1996-2005 GMC 1994-2004 Oldsmobile 1994-1996 Cadillac 1997-2004 Isuzu 1998-2002 Honda Replaces 25180303 2134527Vendor: MOSTPLUSSPECIFICATION: Brand: MOSTPLUS Warranty: 1 Year Material: Aluminium, PBT plastic and PCB Connector: 3pins Connector Gender: Male Interchange: 25180303, 25008302, 25008207, 25008309, 8970166261, 86-8309, 74-8309, 748309, 213-352 FEATURE: Peak Engine Performance: Our Mass Air Flow Meter Sensor delivers precise real-time airflow data to your...
- $36.99
- $36.99
- Unit price
- / per
-
MAF Mass Air Flow Sensor Meter For Mazda Chevy Tracker Suzuki Vitara FP3913215Vendor: MOSTPLUSFeature Brand New Mass Air Flow Sensor 100% test before shipment Output curve tolerance with 2% Fast response less than 15 ms Sensor element made up of platinum same to stock one Direct replacement and meets OEM specifications InterchangeE5T52071 , FP39 13 215 ,...
- $35.90
- $35.90
- Unit price
- / per
-
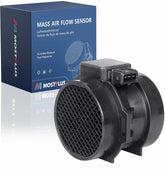
MAF Mass Air Flow Meter Sensor For BMW X3 X4 X5 135i 335i 535i 640i 13627593624Vendor: MOSTPLUSDetails: Brand: MOSTPLUS Warranty: 1 Year Material: Aluminium, PBT plastic and PCB Connector: 4pins OEM#: 13627593624, 5WK97512, 197400-2160 Fitment Type: Direct Replacement Features: Our air flow sensors adopt platinum material as the sensor element and digital circuit which are the latest technology in...
- $29.84
- $29.84
- Unit price
- / per
-
Mass Air Flow Sensor Meter MAF for Ford Escape Exporler 74-50011 XF2F12B579BAVendor: MOSTPLUSThe air mass sensor measures the mass of air inducted by the engine (air flow mass) with great precision. The signal produced by the air mass sensor is used to calculate the amount of fuel injection and in the case of diesel engines also...
- $24.49
- $24.49
- Unit price
- / per
-
New Mass Air Flow Sensor MAF For CHEVY GM SATURN 213-1585 12579352 AFH60M23AVendor: MOSTPLUSThe air mass sensor measures the mass of air inducted by the engine (air flow mass) with great precision. The signal produced by the air mass sensor is used to calculate the amount of fuel injection and in the case of diesel engines also...
- $27.69
- $27.69
- Unit price
- / per
-
Mass Air Flow Meter Sensor For 2002-2003 I35 Maxima Pathfinder 22680-6N201Vendor: MOSTPLUSDetails: Brand: MOSTPLUS Warranty: 1 Year Fitment Type: Direct Replacement Placement on Vehicle: Front Specification: Oupt curver tolerance < 2% Fast response time: 15 ms 5 Pins plug-in sensor compatible 4 Pins Interchange Part Number: 22680-6N200, 22680-6N201, 22680-6N20A, (22680-4M500), SU6483, MF21043, 917-889, 917889, 20GE161GT1300M,...
- $23.99
- $23.99
- Unit price
- / per
-
Mass Air Flow Sensor MAF For A4 TT Golf Jetta Passsat 1.8T 0280218063 06A906461LVendor: MOSTPLUSThe air mass sensor measures the mass of air inducted by the engine (air flow mass) with great precision. The signal produced by the air mass sensor is used to calculate the amount of fuel injection and in the case of diesel engines also...
- $26.99
- $26.99
- Unit price
- / per
-
New Mass Air Flow Sensor MAF For Buick LaCrosse Chevy Colorado Impala AFH70M-43Vendor: MOSTPLUSFeaturesBrand: MOSTPLUSCondition: 100% brand newProduct fit : Direct FitRecommended use : OE ReplacementSurface Material:Plastic StyleInterchange Part Number: 15865791, 12576410, 5S13840, AF10142, 917-858, 917858, MF16410, SU15246, AFH70M-43, AFH70-M43, AFH70M43Fitment2010-2014 BUICK LACROSSE2006-2007 BUICK RAINIER2011-2014 BUICK REGAL2007-2011 CADILLAC SRX2006-2010 CADILLAC STS2006-2009 CADILLAC XLR2014 CADILLAC XTS2010-2014 CHEVROLET CAMARO2005-2010...
- $19.99
- $19.99
- Unit price
- / per


